To add a Google Cloud Platform (GCP) node to your Cloudhouse Guardian (Guardian) instance for Agentless scanning, you need a GCP service account set up with the correct permissions. The GCP service account is used to generate a JSON Web Token (JWT) that is required to verify Guardian's access to the GCP node.
The following process assumes that you have a GCP account set up with basic permissions that enable you to access the project you're adding to Guardian for monitoring.
Tip: For more information on how to add a single GCP node to Guardian, see Google Cloud Platform (GCP) Node. Alternatively, see GCP Integration for more information on how to create a GCP integration that automatically syncs and adds GCP nodes to your Guardian instance.
JSON Web Token
To source the JWT required to add your GCP node in Guardian, complete the following steps.
-
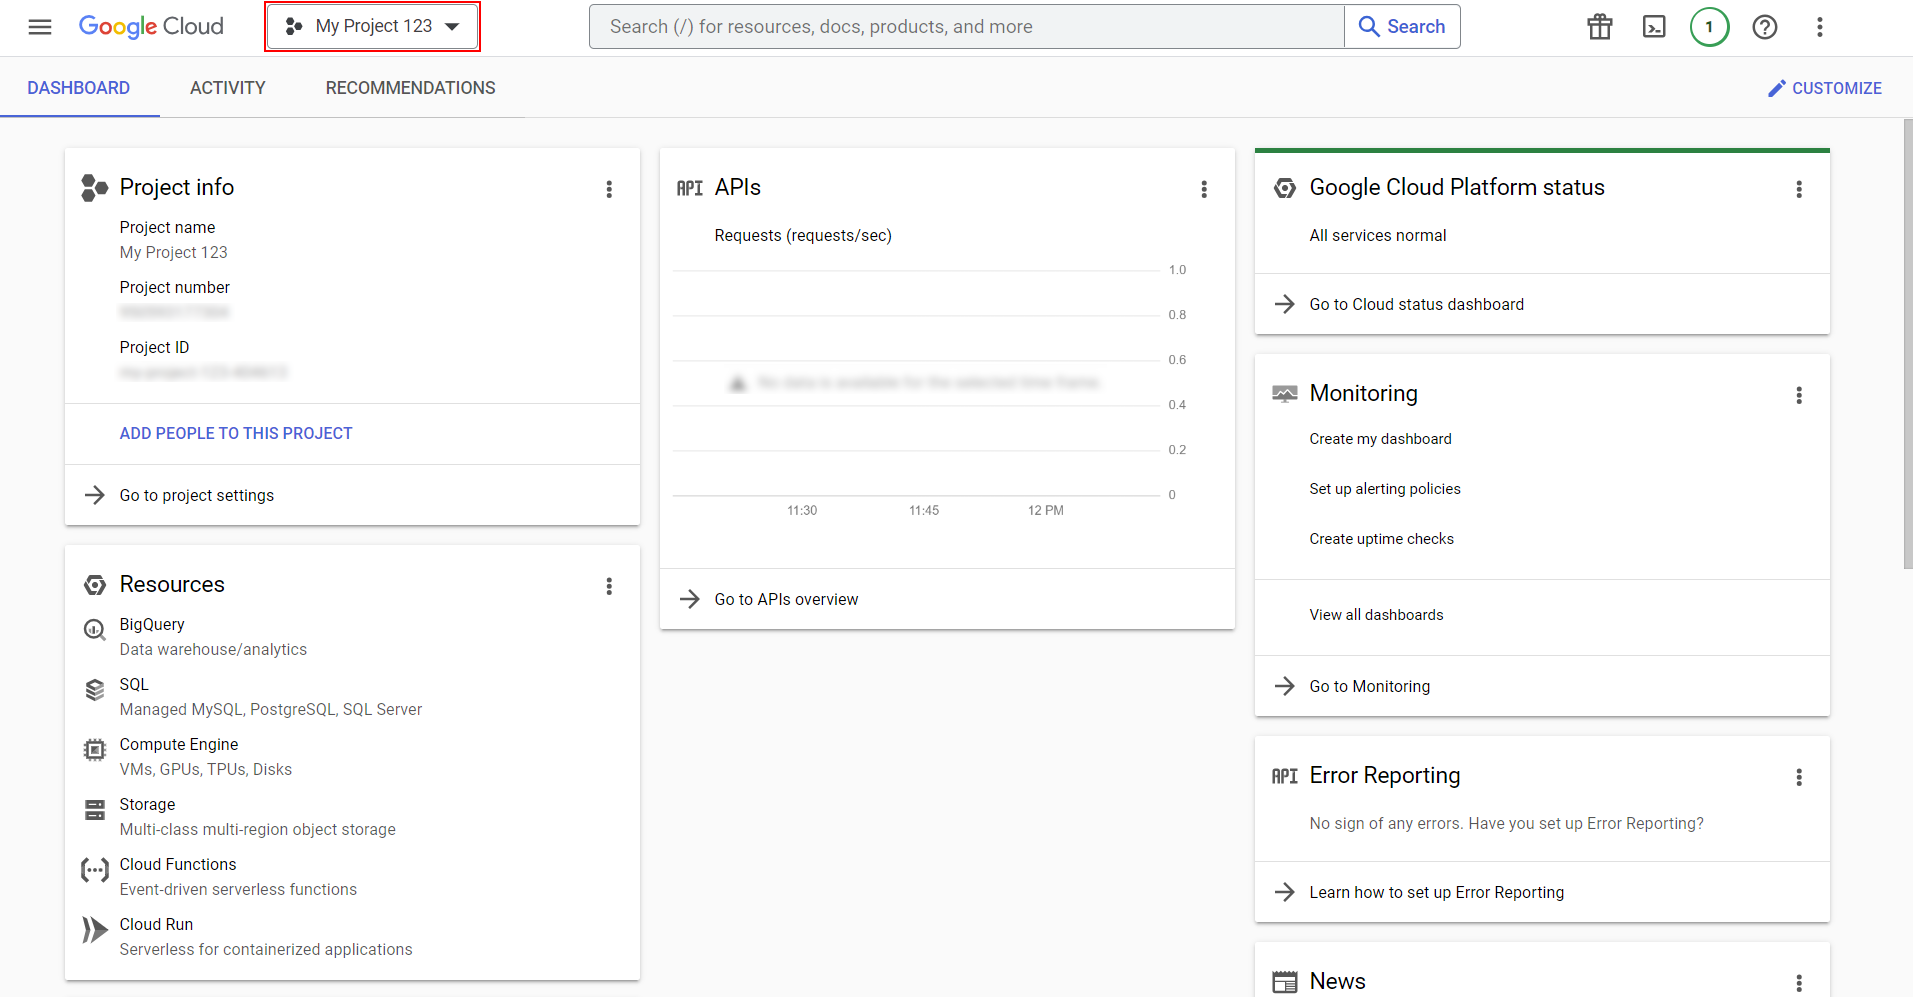
Log into the GCP console. Select the correct project from the Select a project drop-down list. The project you're adding to Guardian for monitoring.
-
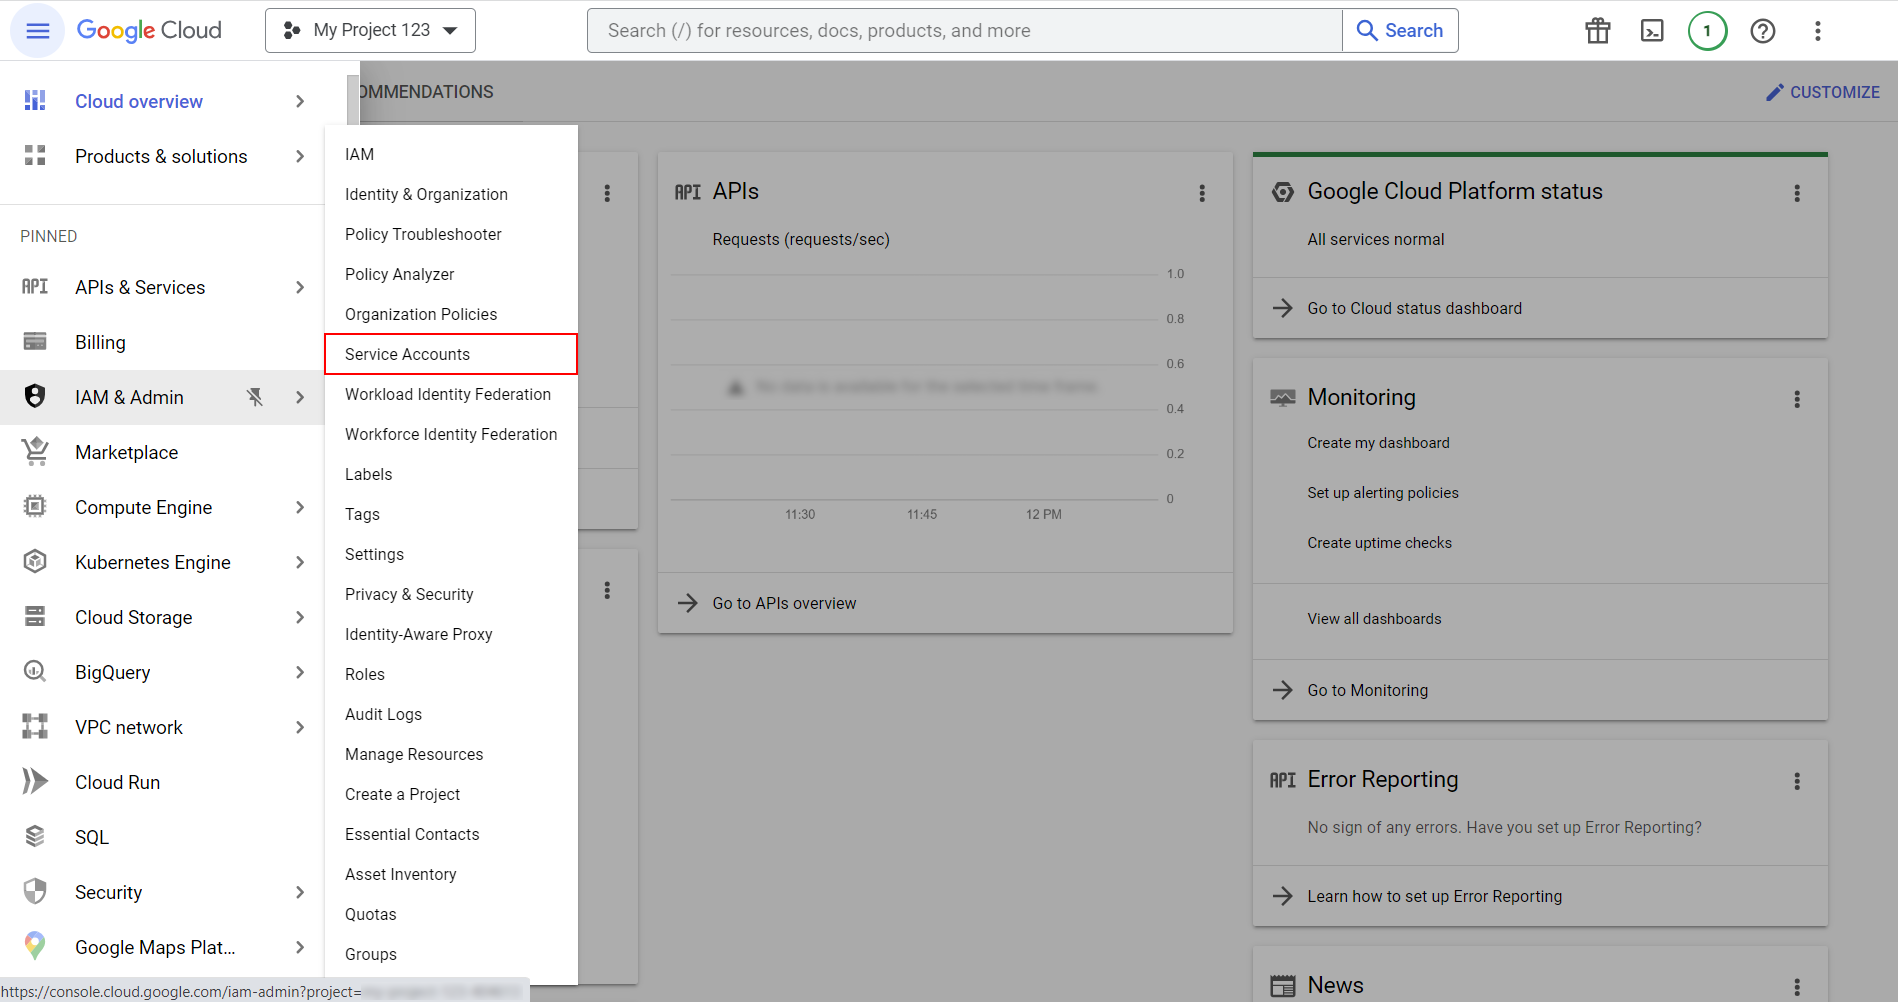
To source the JWT, click the Navigation Menu > IAM & Admin > Service Accounts. The Service account for project "Project-Name" page is displayed.
-
Here, you can create a new service account with the permissions required to scan your GCP node(s). Click to + Create Service Account button. Alternatively, you can use an existing JWT to add the node to Guardian. The Create service account page is displayed.
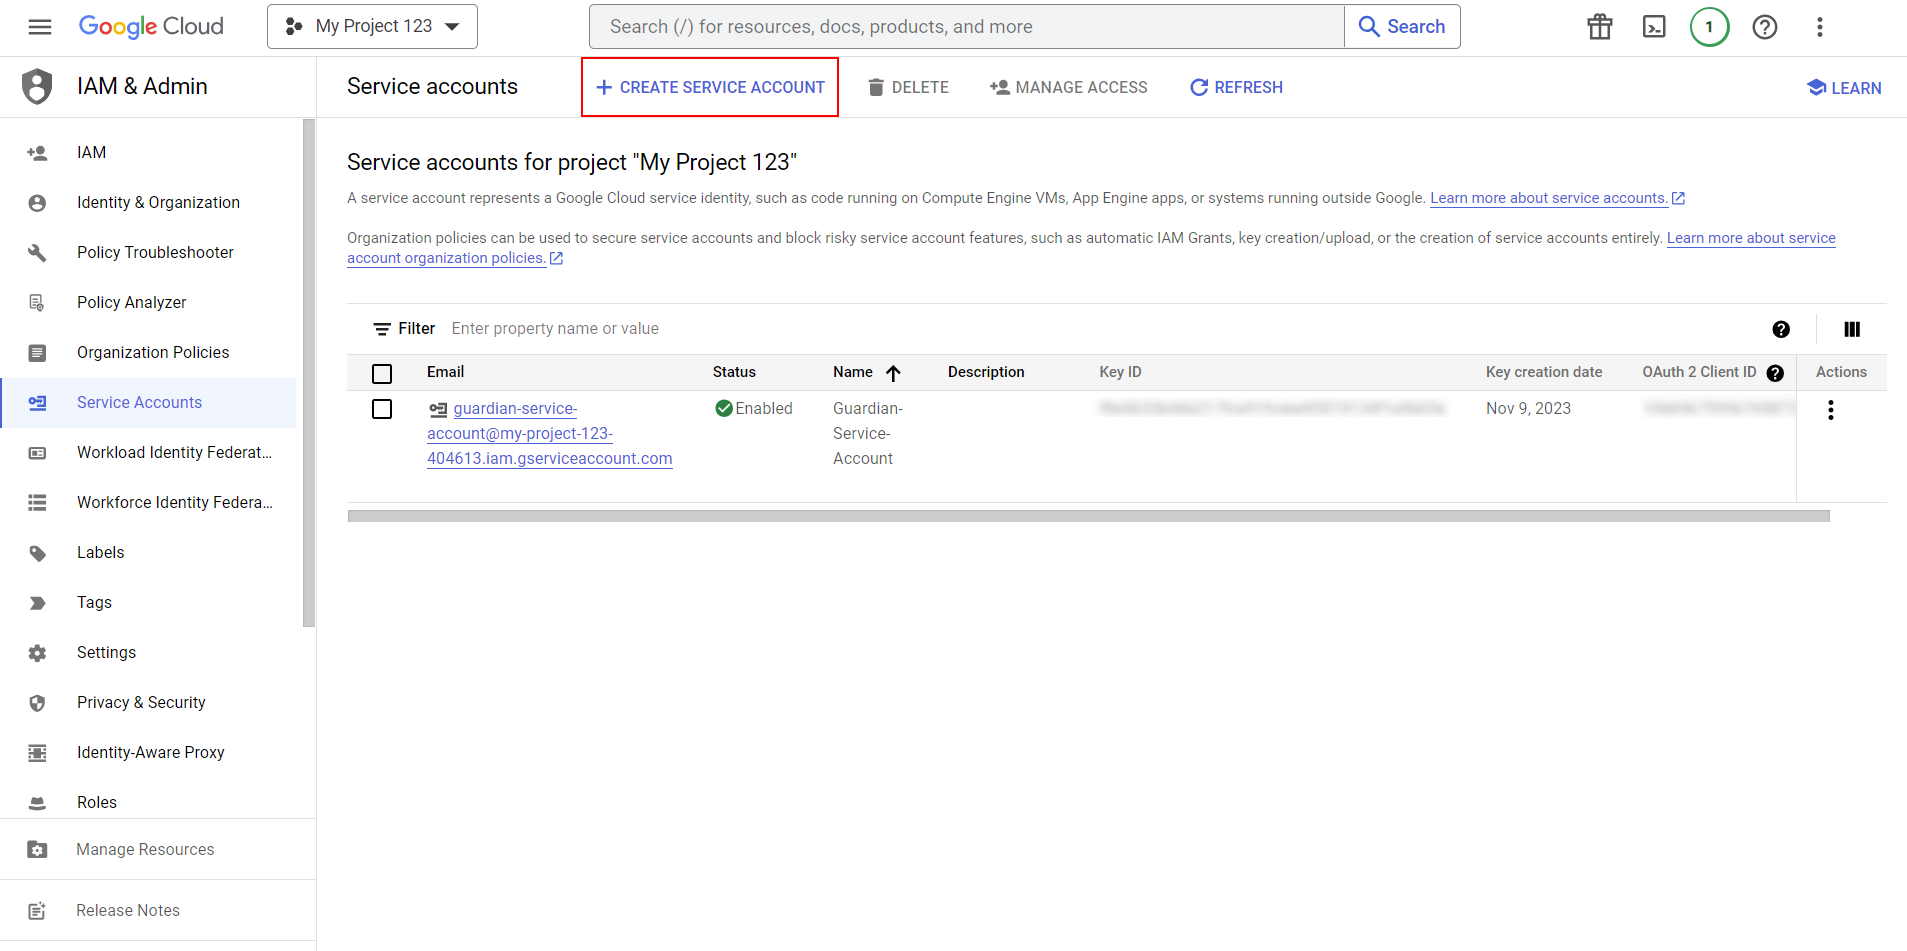
Note: The JWT is only displayed upon its creation. If you don't have the JWT for an existing service account saved, you can delete and regenerate it. However, all existing applications using those credentials are then required to be updated.
-
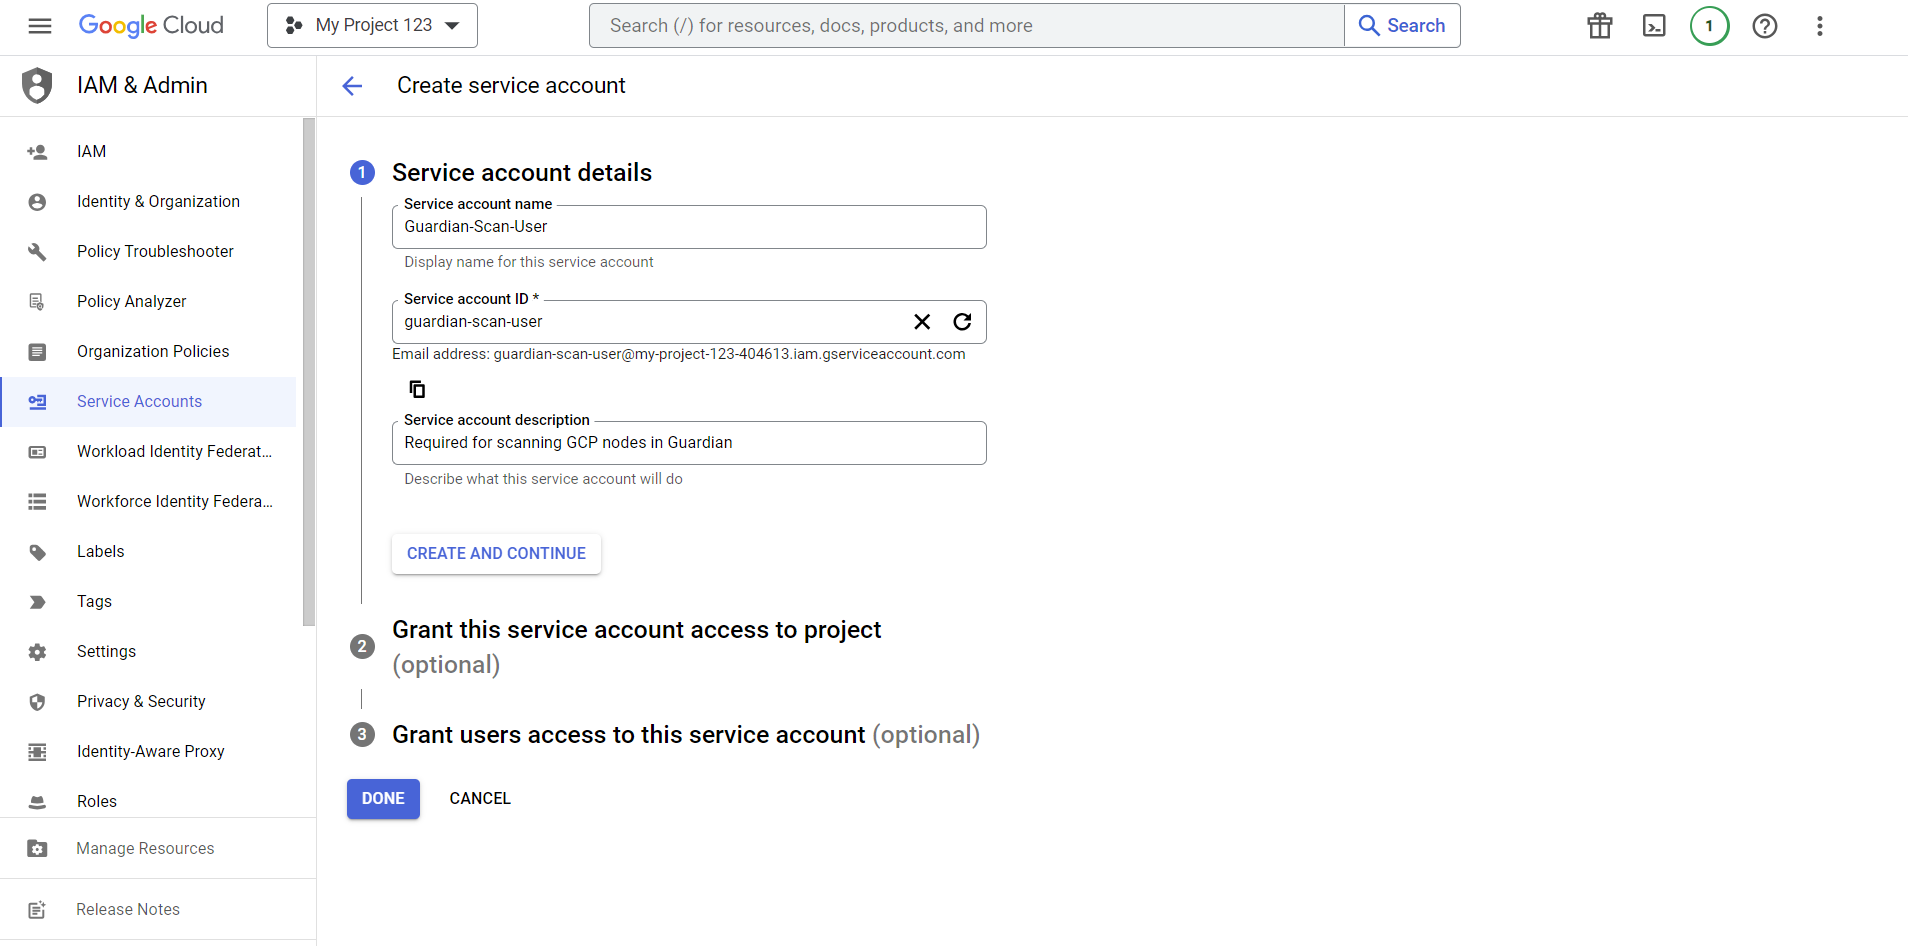
Enter a value in each of the fields required in the Service account details section. Then, click to Create And Continue. The Grant this service account access to project (optional) section is displayed.
-
Here, you can stipulate the permissions for the service account by assigning it a role. Select a Role from the drop-down list, then click to Continue. The Grant users access to this service account (optional) page is displayed.
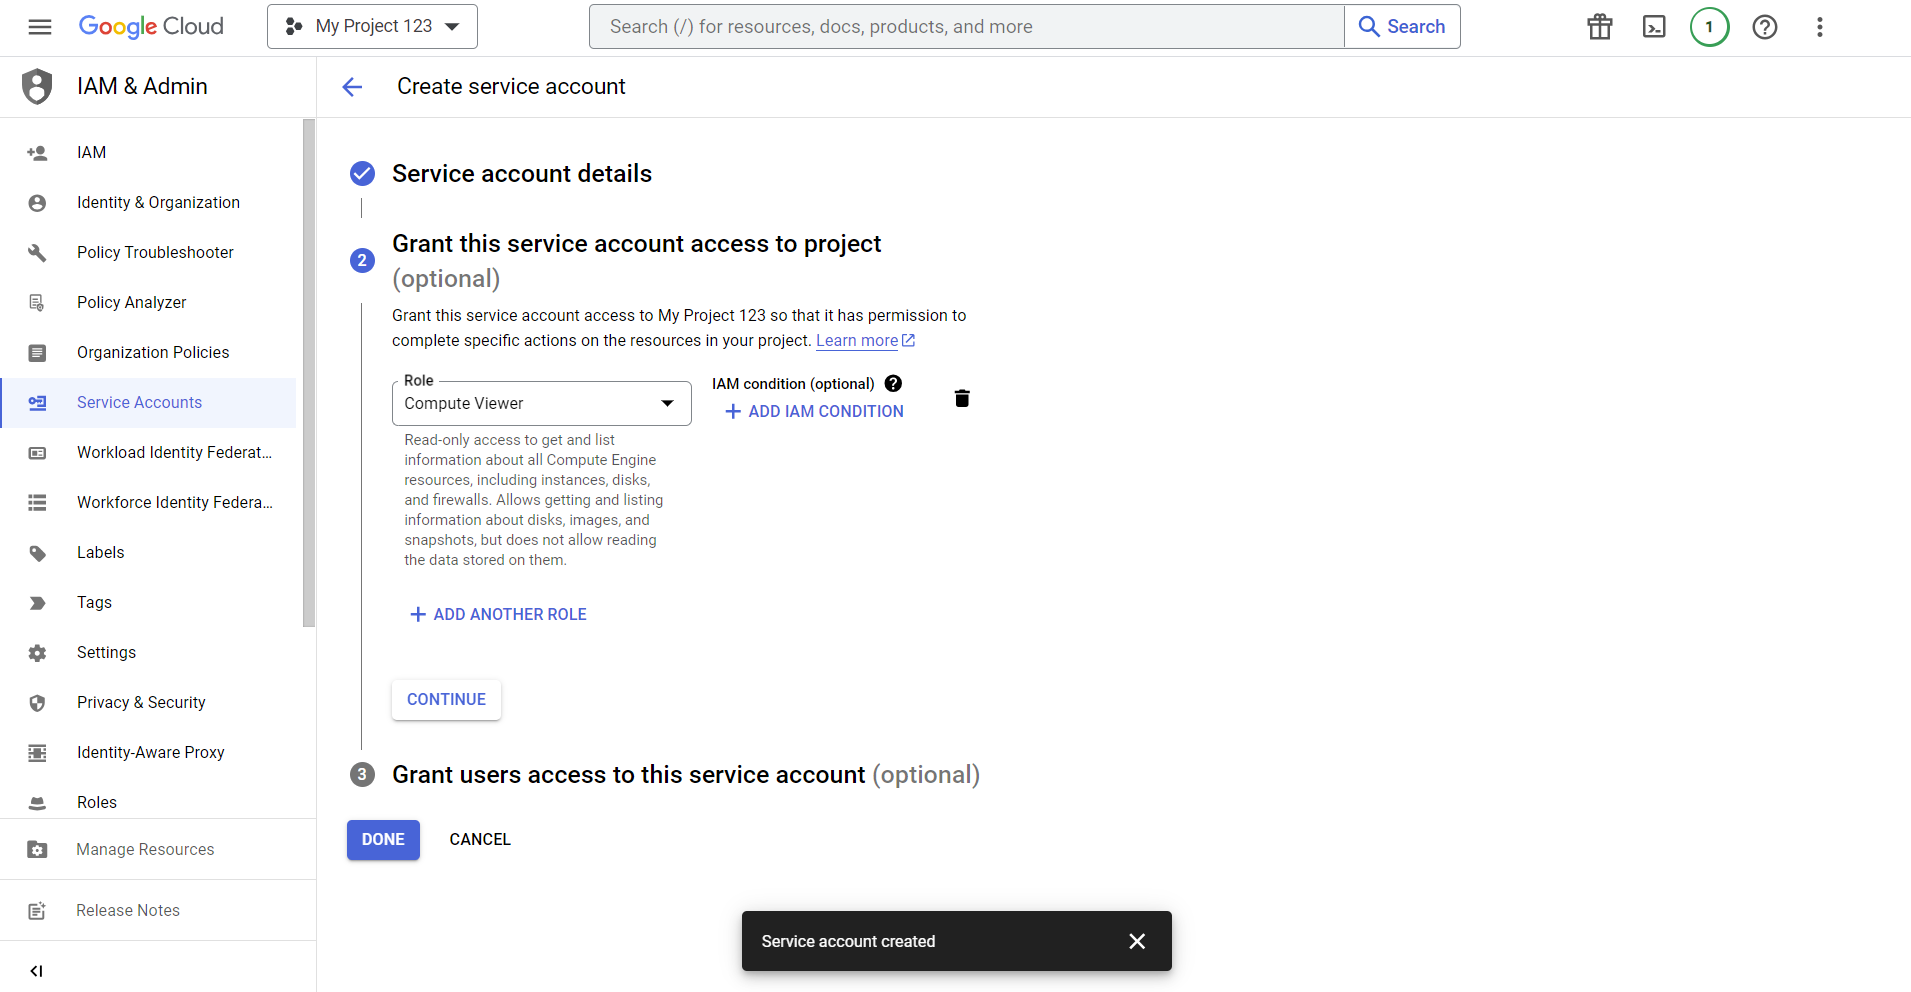
Note: Cloudhouse recommend read-only permissions, with the role depending on the type of nodes you intend to scan.
-
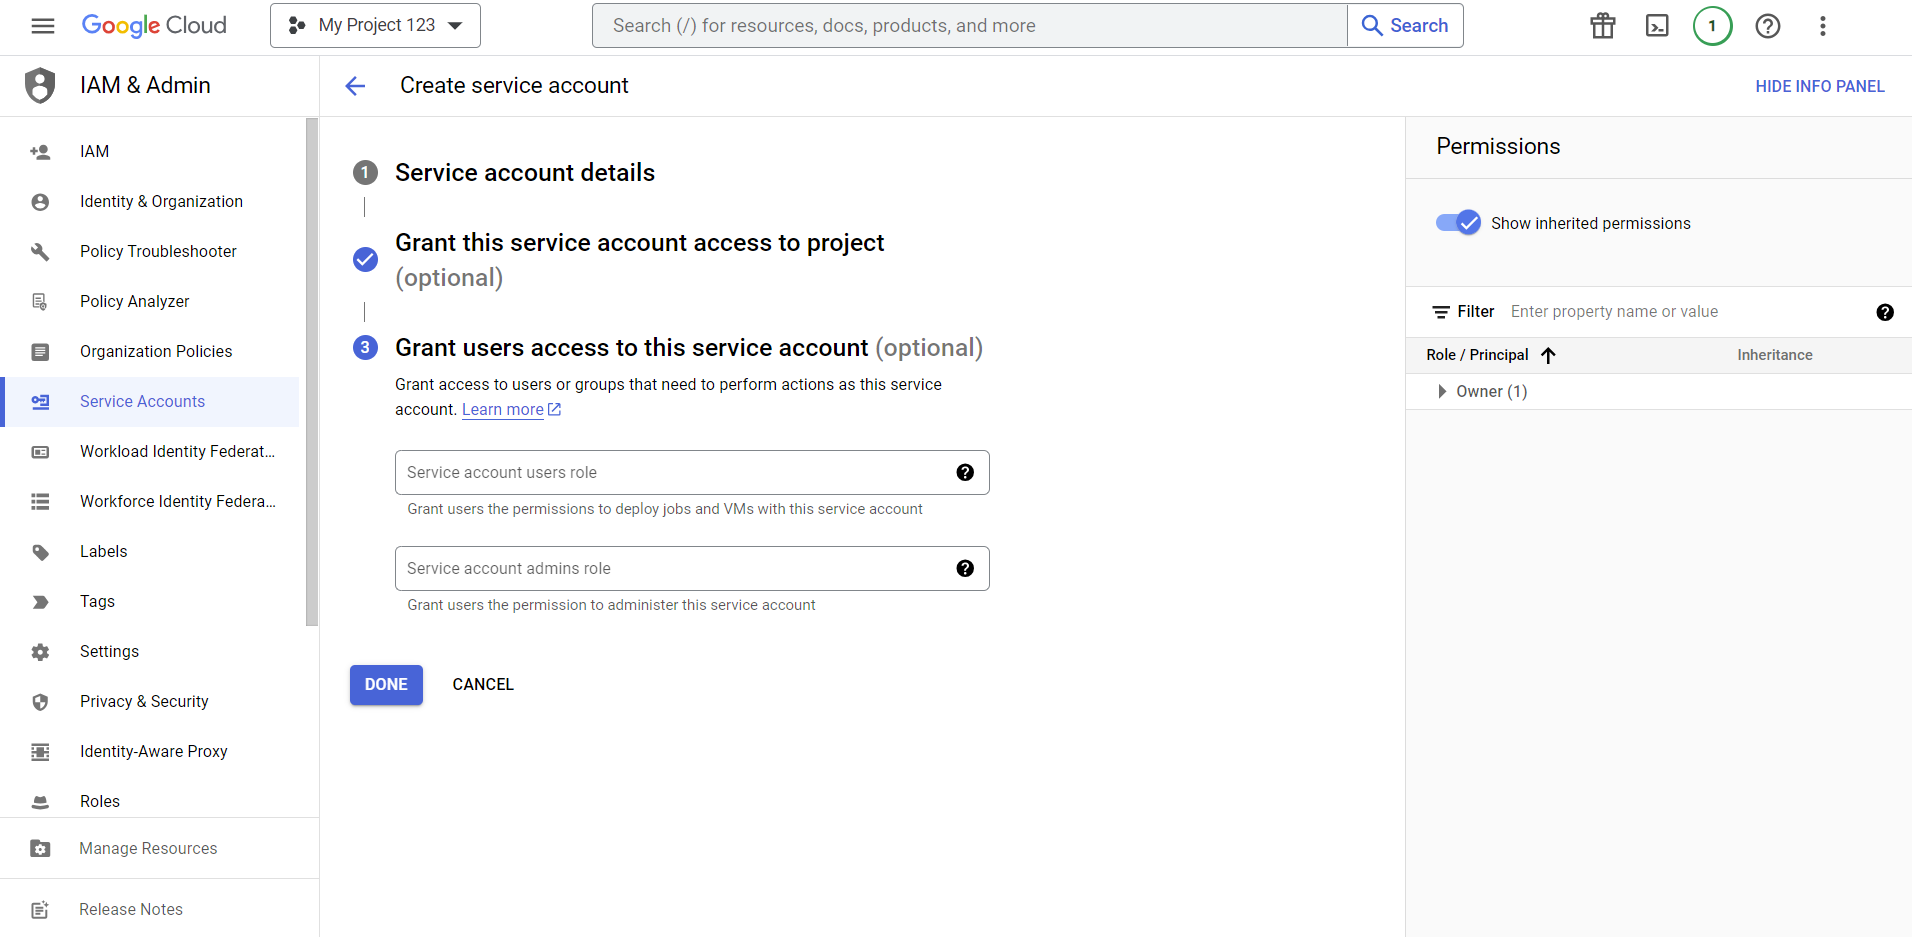
Here, you can grant access to other users or groups that you want to be able to scan GCP nodes in Guardian. Once complete, click Done. The Service accounts home page is displayed, with the new service account added to the table menu.
-
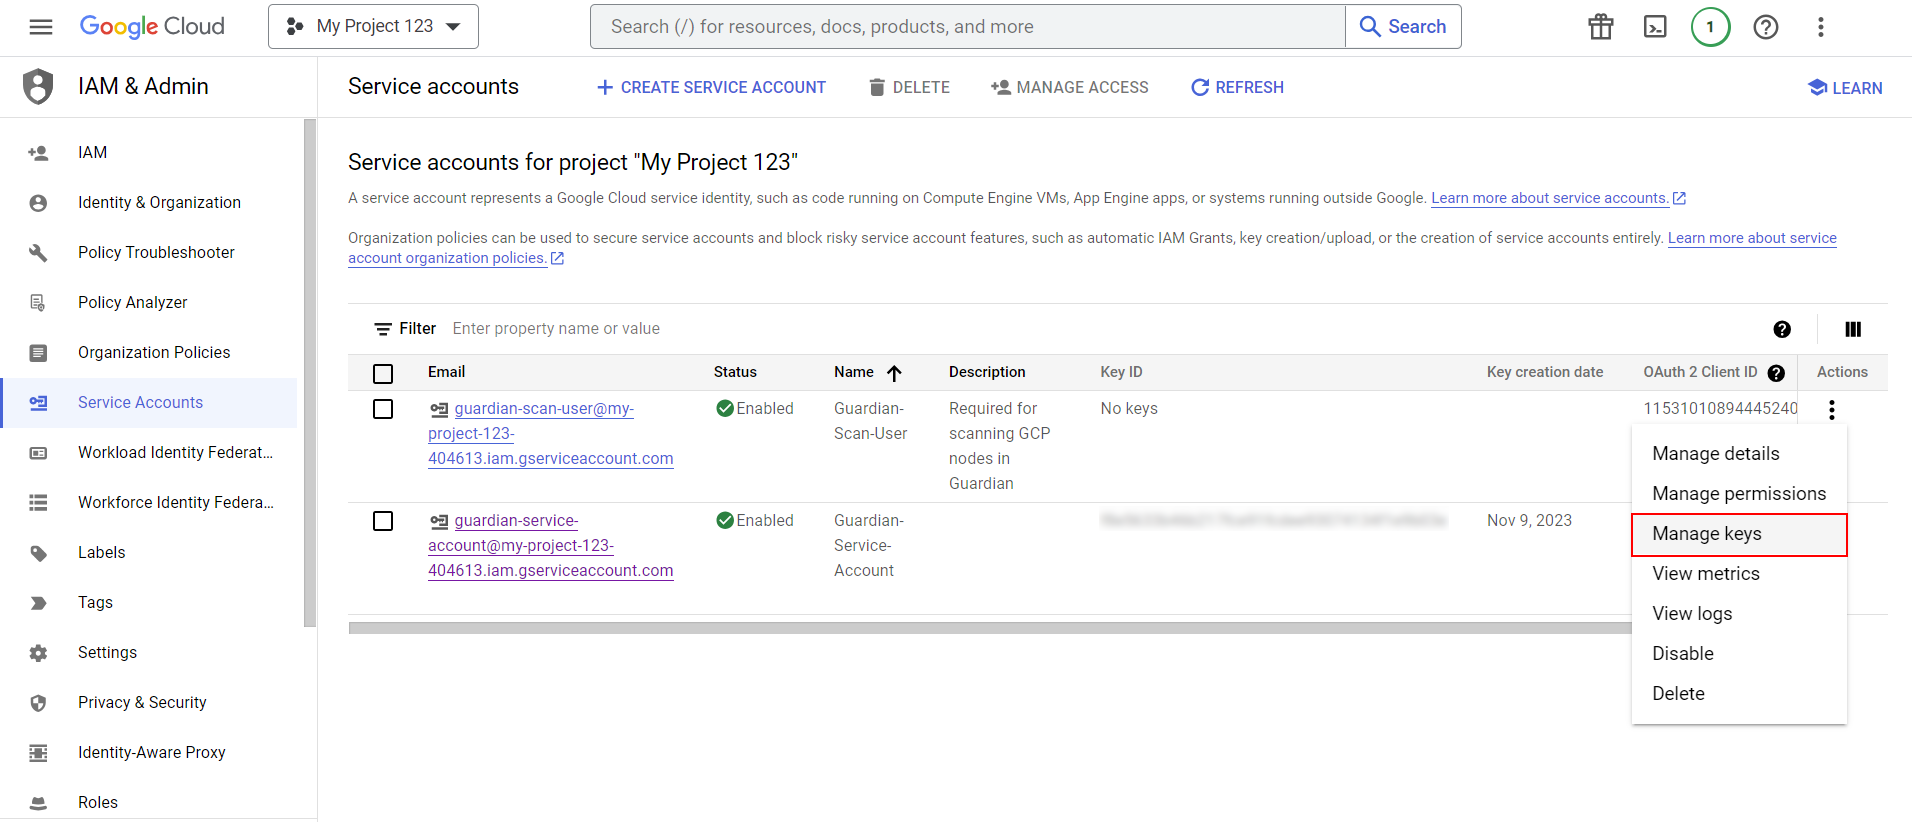
Next, you need to generate a JWT for your service account. Click the Actions ellipsis button, then select Manage keys. The Keys tab of the service account's profile page is displayed.
-
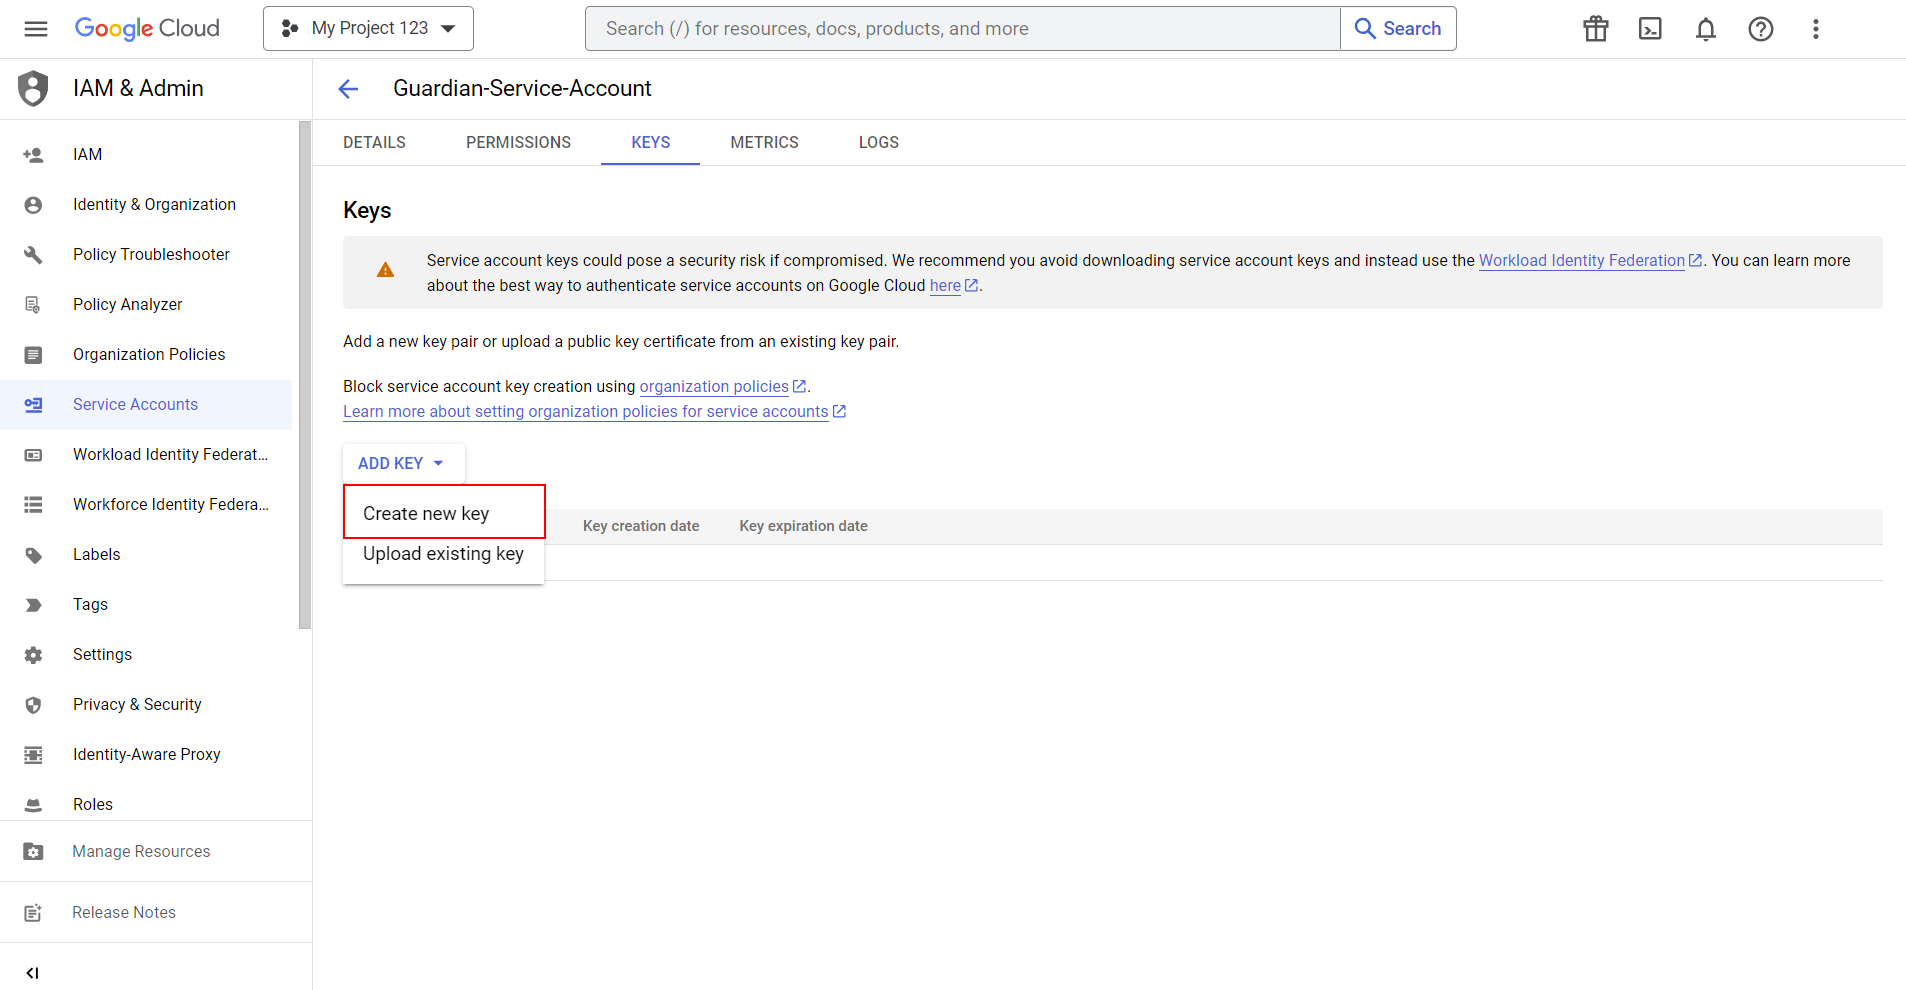
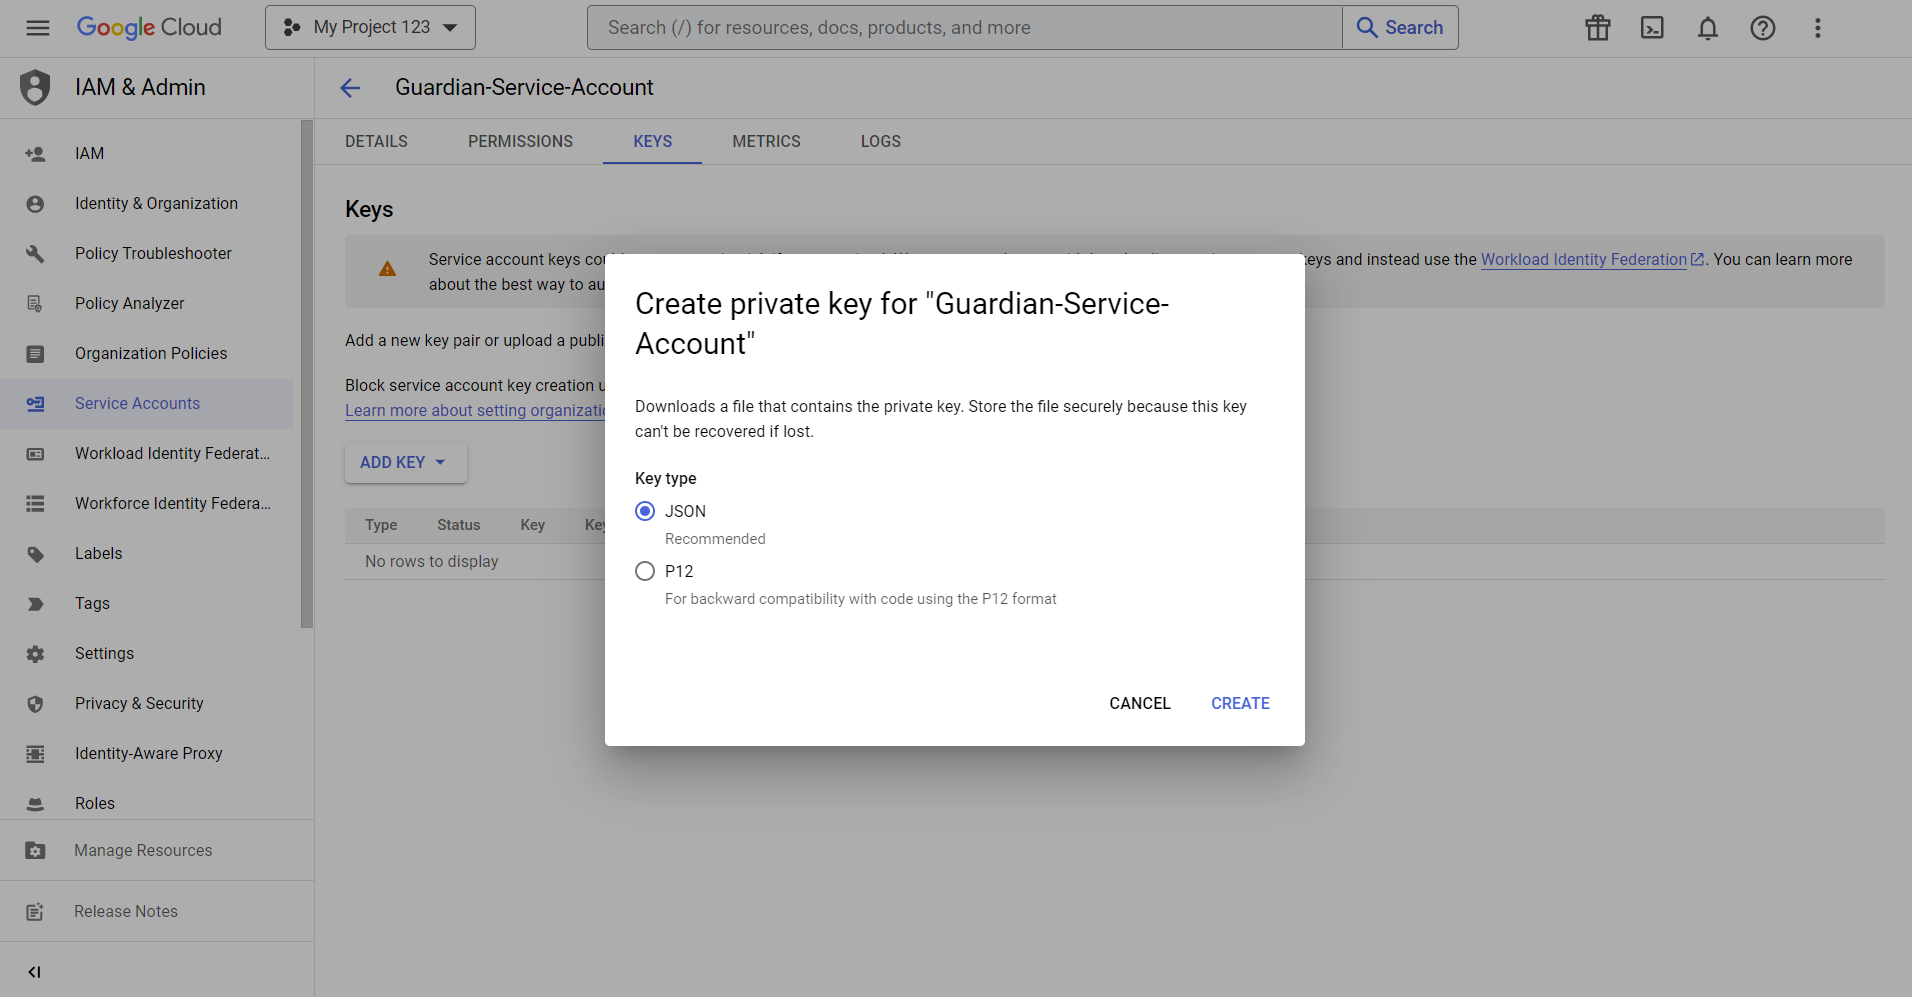
Click the Add Key drop-down list, then select Create new key. The Create private key for "Service-Account" dialog is displayed.
-
Select the JSON radio button, then click to Create the web token.
-
The following confirmation message is displayed 'Private key saved to your computer'. The key is saved to your computer as a JSON file, open the file to display the JWT.
Note: This is the only time that the private key can be viewed or downloaded. If you plan to add additional GCP nodes, you may want to save the JSON file for future use. Alternatively, you can deactivate and regenerate the private key. However, all existing applications using those credentials will need to be updated.
-
Finally, you can copy the private key and use it to authenticate Guardian's access when adding a GCP node.
GCP Zone
To source the GCP zone required to add your GCP node in Guardian, complete the following steps.
-
Log into the GCP console. Select the correct project from the Select a project drop-down list. The project you will be adding to Guardian for monitoring.
-
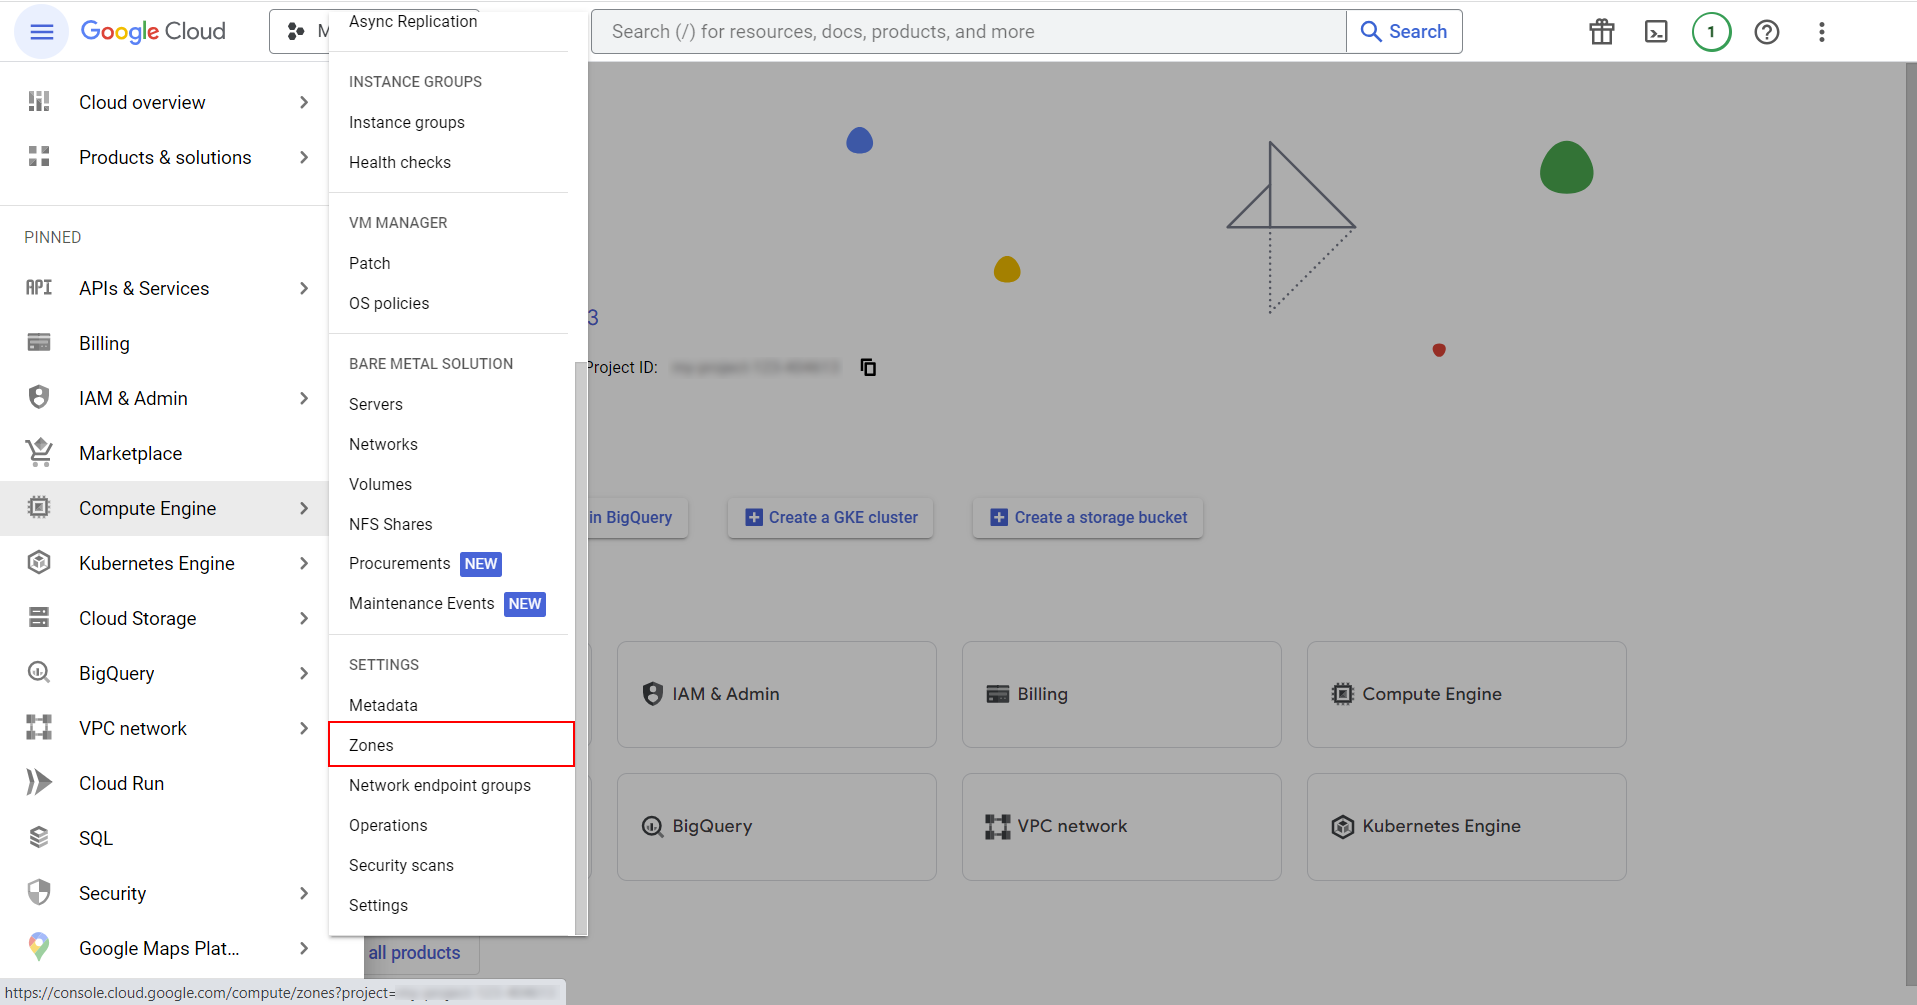
To locate the zone in which the service is hosted, click the Navigation Menu > Compute Engine > Zones. The Zones page is displayed.
-
Here, you can locate from what region your service is hosted.
-
Finally, you can copy the value and use it when adding a GCP node in Guardian.